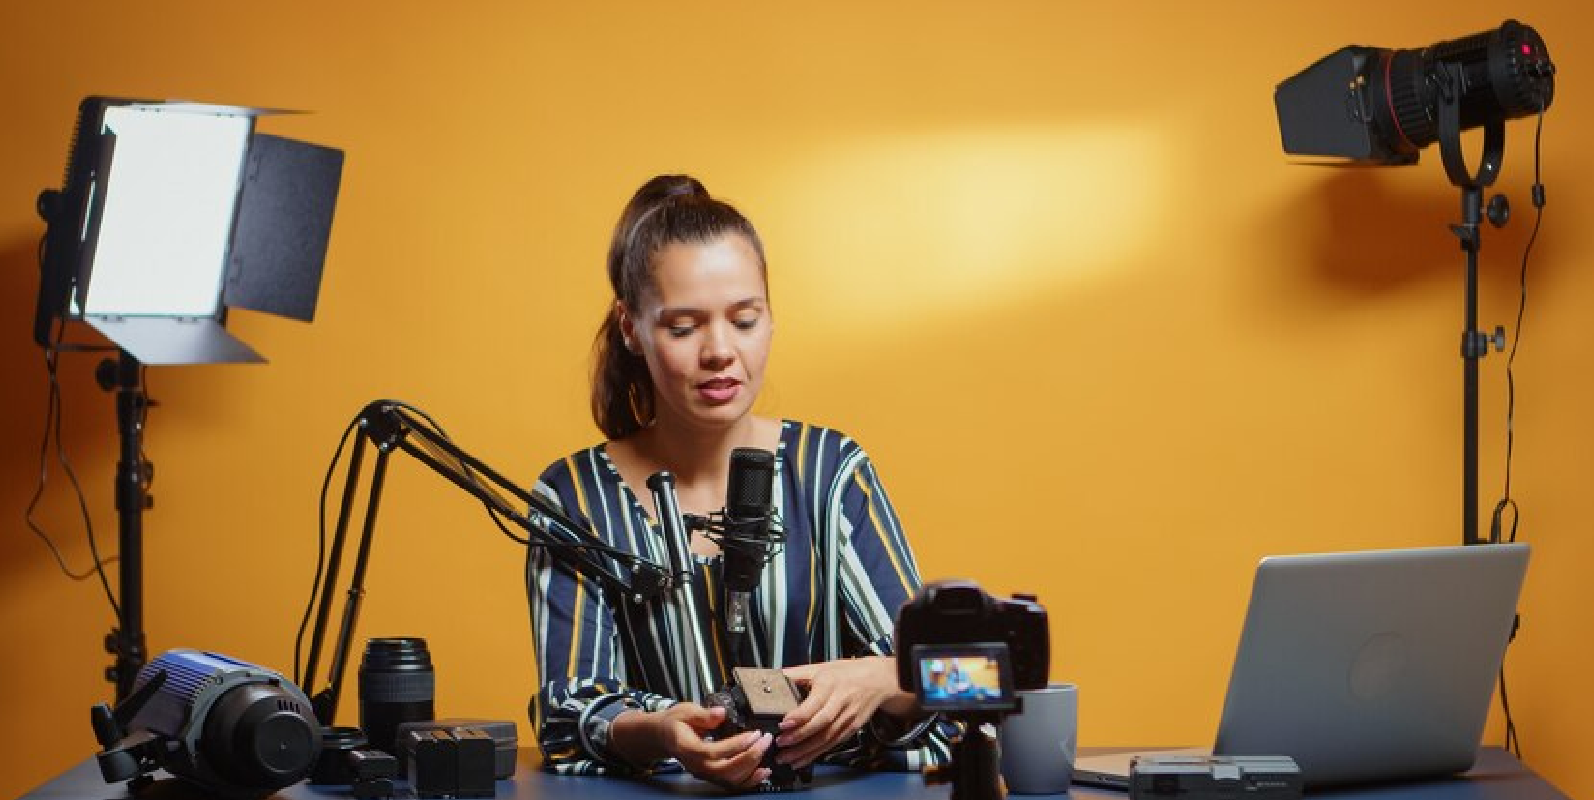
In today’s digital age, explainer videos have become a cornerstone of effective communication for businesses and creators alike. These short, engaging videos are perfect for explaining complex ideas, products, or services in a concise and visually appealing manner. However, one key element that can make or break an explainer video is the quality of the narration. A professional voiceover can elevate your video and capture the audience’s attention, but hiring a voiceover artist can be expensive.
Fortunately, with the right techniques and tools, you can create high-quality voiceovers for your explainer videos right from the comfort of your own home. In this comprehensive guide, we’ll explore essential tips and tricks to help you master the art of DIY voiceovers and produce narration that rivals the professionals.
Understanding the Importance of Professional Narration
Before diving into the tips for creating DIY voiceovers, it’s crucial to understand why professional narration is essential for explainer videos services. The voiceover serves as the narrator, guiding the audience through the content and conveying the message effectively. A well-executed voiceover can:
- Enhance Clarity: Clear and articulate narration helps viewers understand the information being presented in the video.
- Evoke Emotion: The tone, pace, and delivery of the voiceover can evoke emotion and engage the audience on a deeper level.
- Maintain Attention: A professional voiceover can capture and maintain the viewer’s attention, preventing them from losing interest in the content.
- Reinforce Brand Identity: The voiceover style can reflect the brand’s personality and identity, strengthening brand recognition among viewers.
Now that we understand the importance of professional narration, let’s delve into the tips for creating DIY voiceovers that rival those produced by professional voiceover artists.
1. Invest in Quality Equipment
While you don’t need a professional recording studio to create DIY voiceovers, investing in quality equipment can significantly improve the overall sound quality of your recordings. Here’s what you’ll need:
- Microphone: Choose a high-quality microphone that is suitable for voice recording. A condenser microphone is a popular choice for voiceovers due to its sensitivity and clarity.
- Pop Filter: A pop filter helps reduce plosive sounds (such as “p” and “b” sounds) and ensures a clean recording.
- Headphones: Invest in a pair of studio headphones to monitor your recordings and ensure there are no unwanted noises or distortions.
2. Set Up a Quiet Recording Space
Creating a quiet recording environment is essential for capturing clean and professional-sounding voiceovers. Choose a room with minimal background noise, such as a spare bedroom or home office. Consider the following tips:
- Minimize Reflections: Use soft furnishings, such as curtains or rugs, to absorb sound reflections and prevent echo.
- Soundproofing: If possible, invest in soundproofing materials to reduce external noise interference.
- Quiet Time: Record during times when ambient noise is minimal, such as early mornings or late evenings.
3. Practice Your Script
Before recording your voiceover, spend time practicing the script to ensure smooth delivery and proper pacing. Pay attention to the following aspects:
- Natural Flow: Aim for a conversational tone that feels natural and engaging.
- Pacing: Practice pacing your speech to match the timing of the video and allow for appropriate pauses.
- Enunciation: Focus on pronouncing words clearly and articulately to enhance clarity.
4. Focus on Tone and Emotion
The tone and emotion conveyed in your voiceover play a significant role in engaging the audience and conveying the intended message. Consider the following tips:
- Match Tone to Content: Adapt your tone to match the mood and subject matter of the video. For example, a cheerful tone may be suitable for a light-hearted explainer video, while a serious tone may be more appropriate for a technical or informative video.
- Inject Emotion: Infuse your voice with emotion to captivate the audience and evoke a response. Use variations in tone, volume, and emphasis to convey enthusiasm, empathy, or urgency.
5. Record and Edit Your Voiceover
Once you’re ready to record, follow these steps to ensure a high-quality voiceover:
- Warm-Up: Perform vocal warm-up exercises to prepare your voice for recording.
- Record Multiple Takes: Record multiple takes of the script to give yourself options during the editing process.
- Edit for Clarity: Use audio editing software to trim any mistakes or pauses, adjust volume levels, and enhance clarity.
- Add Music and Sound Effects: Consider adding background music and sound effects to enhance the overall production value of the video.
6. Utilize Online Resources and Tools
There are numerous online resources and tools available to assist you in creating professional voiceovers for your explainer videos. Consider the following options:
- Script Templates: Use pre-made script templates to structure your content effectively and ensure a cohesive narrative.
- Voiceover Software: Explore voiceover software that offers features such as text-to-speech conversion, voice modulation, and audio editing capabilities.
- Royalty-Free Music Libraries: Access royalty-free music libraries to find the perfect background music for your video without worrying about copyright issues.
Conclusion
Creating professional voiceovers for your explainer videos doesn’t have to be a daunting task. With the right techniques, tools, and practice, you can produce high-quality narration that captivates your audience and enhances the effectiveness of your videos. By investing in quality equipment, setting up a quiet recording space, practicing your script, focusing on tone and emotion, and utilizing online resources, you can master the art of DIY voiceovers and elevate the production value of your explainer videos.

